IDE Tools options – Settings paths
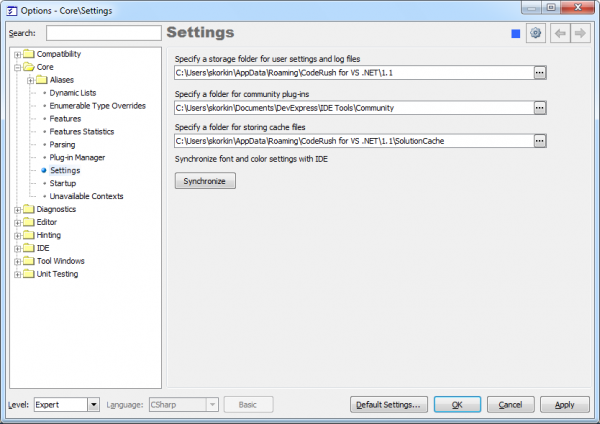
IDE Tools (CodeRush, Refactor! and DXCore) use several physical paths to store its settings, log and cache files, and community plug-ins. All these paths are configurable on the Core | Settings options page in the Options Dialog. This is what the page looks like:
You can specify the following paths:
- A storage folder for the user settings and the log files. This folder, in turn, contains two folders:
- the “Settings.xml” folder where all settings of IDE Tools are stored
- the “Log” folder with various log files, which can be used to troubleshoot the IDE Tools
- A folder for the community plug-ins. You may install a community plug-in into this folder and they will be automatically loaded by IDE Tools when found.
- A folder for storing the cache files. There are solution and assembly caches generated by DXCore. They are used to improve the overall performance when working with big projects. You can safely remove the cache folder, because it will be recreated by DXCore next time you open and use a particular project.
There is also an additional option to synchronize the font and color settings with IDE. These are Visual Studio IDE settings for fonts and colors, accessible via the “Tools -> Options -> Environment -> Fonts and Colors” menu item. Retrieving these settings from Visual Studio takes significant time, so IDE Tools simply retrieve them once on the first startup and stores them in its settings files for later reference to improve performance.
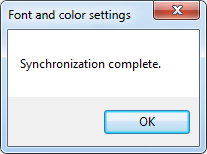
These settings are used by the CodeRush and DXCore features which paint over the Visual Studio code editor. For example, a BigHint component may use the background color specified in the Visual Studio Color options. Or, the Refactor!/CodeRush Popup menu uses the IDE code editor font and its size to correspond to the IDE. If you notice any color or font mismatch for different IDE Tools hints and visual features, or manually change the Visual Studio Font and Color settings, you might need to synchronize them with IDE Tools by clicking the Synchronize button. If synchronization is successful, you will see the corresponding message:

