Creating simple templates step by step
Once you know recommendations for creating new templates and have the Templates options page open, you can start writing a template expansion starting from plain text. Any plain text typed or pasted into the Expansion area will be expanded as is, for example:
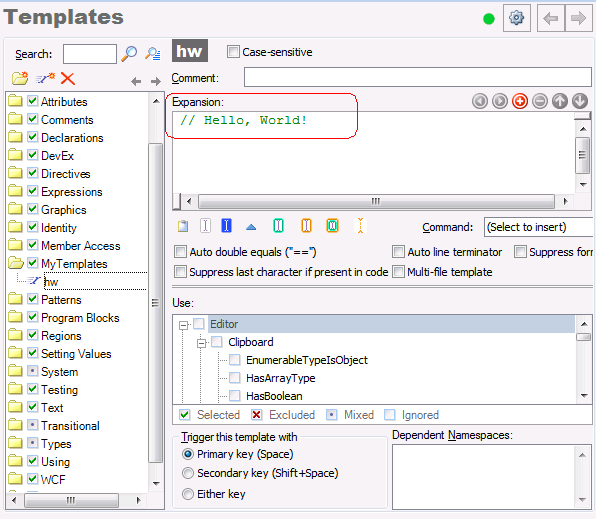
the template name will be replaced with the expansion text:

The text in the Expansion area is highlighted with the syntax of the chosen language at the bottom of the page, e.g.:
![]()
After a template expands, the editor caret is positioned at the end of the expansion, by default. We can bring more intelligence into our template expansion by inserting simple text commands for positioning an editor caret and selecting the resulting text, for example:
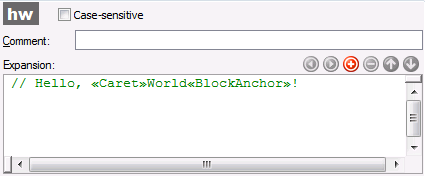
The text commands are wrapped into special tags (« and »), so the CodeRush Templates engine can find commands in the template expansion, parse the name of a text command and then execute one, to get its results. The most common text commands are placed on the commands tool bar:

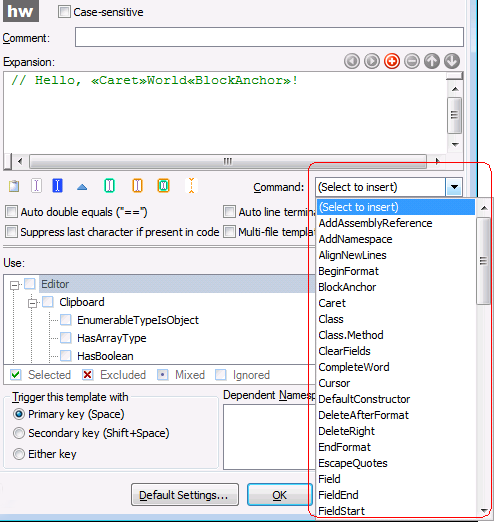
All other commands can be inserted via the Command combo box:
or by right-clicking the Expansion area and choosing the “Insert TextCommand…” menu item:
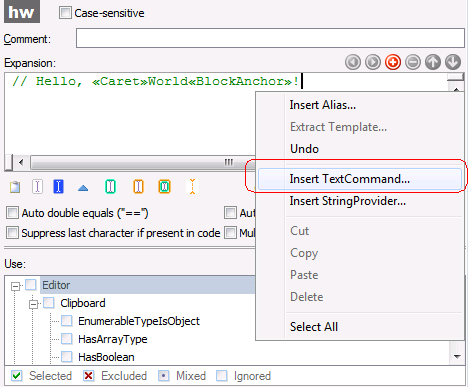
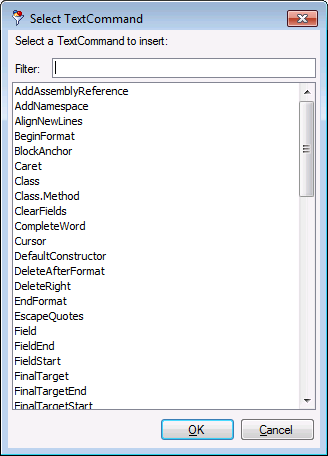
The Select TextCommand dialog will appear, where you can find the required text command by typing its name in the Filter box or by choosing it from the list:
The menu item will store previously chosen text commands, if any:
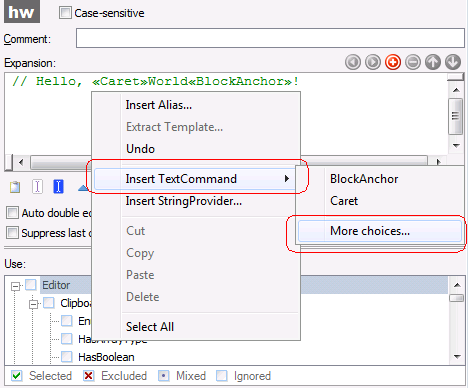
The Caret and Anchor text commands are usually used as a pair. The Caret is used to position the caret in the resulting template expansion. The Anchor text command is used to mark the end of the selection that starts from the Caret position. If there’s no Anchor text command used in the expansion, there will be no text selection. However, if there’s no Caret text command used, the current editor caret position is used. If there are several Caret or Anchor text commands, the only one last text command is valid. The resulting expansion looks as follows:

If you need to create templates with more than one entry point, you can drop markers in your template. Markers are useful when a template requires more than one point where you are going to modify or add code after an expansion is completed.
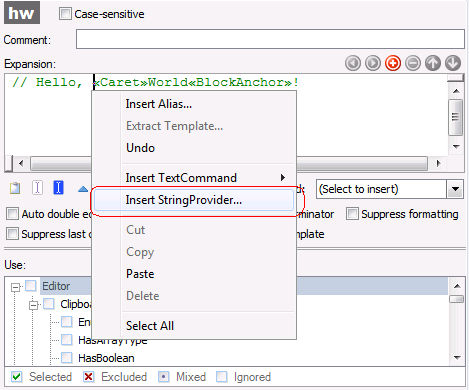
Now, let’s add more intelligence by inserting several string providers. String providers simply return string values. You can insert them by right-clicking the Expansion area and choosing the “Insert StringProvider…” menu item:
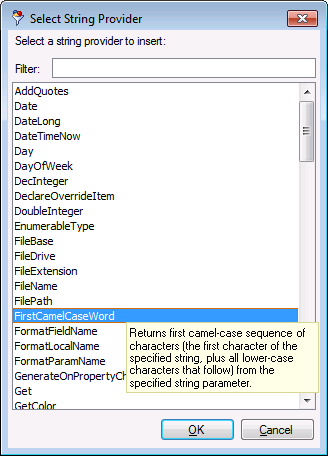
To learn more about a specific string provider, hover over its name in the Select String Provider dialog:
Let’s use the string providers like FileName, GetUserFirstName and GetUserLastName and modify the template expansion as follows:
Once this template saved and expanded, the following result is produced:

Let’s change the expansion further by adding the linked identifiers text commands which allow you to change a piece of text in several locations at once. For example, let’s add linked identifiers for the first name of a user. The Link text command is used to add linked identifiers:
Result:

This is how simple templates are created. The more complex templates use an advanced text command which may iterate members of the current class, add dependent namespaces or paste text into multiple locations as well as multiple files. See how complex templates are created in the corresponding post (coming soon).
—– Products: CodeRush Pro Versions: 12.1 and up VS IDEs: 2008 and up Updated: Oct/02/2012 ID: C161
