Working with HTML tables using CodeRush
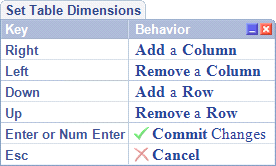
Generating any-size HTML tables and navigating between table cells is very easy when you have DevExpress CodeRush installed. To create a new table just type “.t” inside the HTML markup and press the Space bar. This code snippet template will execute the Table Size UI feature of CodeRush, and the following tiny window will appear:

This small window enables you to choose the size of the generated table. Set the columns and rows count by using the arrow keys:

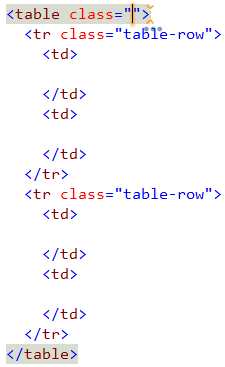
Once the size is set, press the Enter key to generate the table with the specified size, for example, this the 2×2 table created:

The Esc key cancels a specific-sized table creation and inserts a default table expansion:
![]()
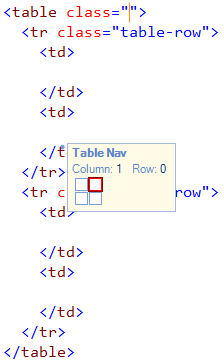
Another part of the Table Size UI feature is the ability to navigate between table cells using the Tab and Shift+Tab keys. Pressing Tab will move the editor caret to the next cell of the current table and show the ‘map’ of the table – the overall size of the table and the current cell that is highlighted in red:

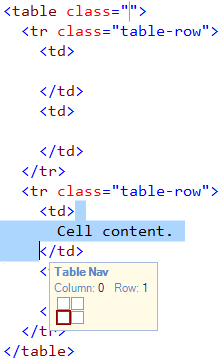
If the cell you are navigating into has some content, it will be completely selected just in case you are going to replace it with new content:

Don’t forget the expansion of the Table Size UI feature – “.t“.
—– Products: CodeRush Pro Versions: 11.2 and up VS IDEs: any Updated: Jan/17/2012 ID: C155