Creating custom CodeRush Code Embeddings
CodeRush Code Embeddings are completely customizable. They are modified on the Embeddings options page in the Options Dialog, where you can create your own. Let’s add a new code embedding to surround the selected code with the logging capabilities.
We will use the DXCore Log class located in the DevExpress.CodeRush.Diagnostics.General namespace (in the DevExpress.CodeRush.Common assembly). The embedded code will look like this (C#):
Log.Enter("Message");
try
{
  // selected text goes here...
}
catch (Exception ex)
{
  Log.SendException("An exception occurred", ex);
}
finally
{
  Log.Exit("Message");
}
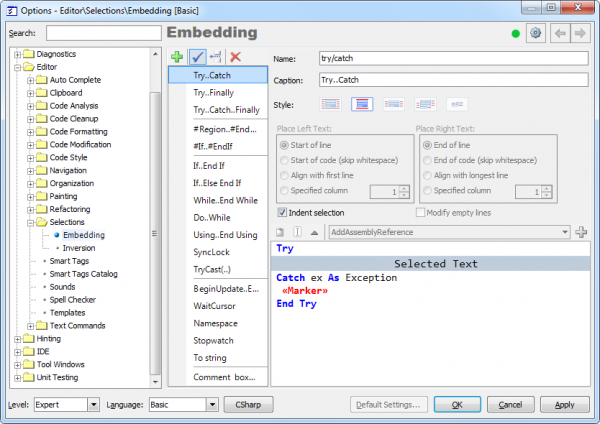
1) Open up the Embedding options page:
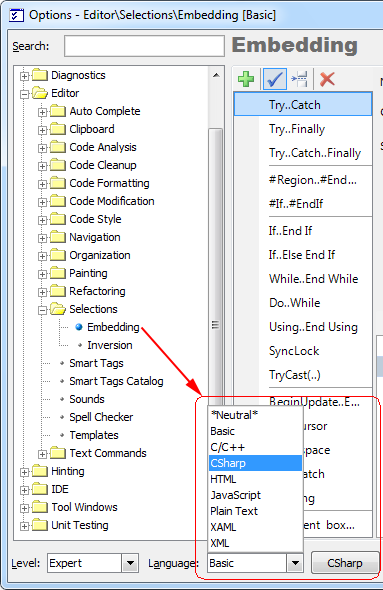
2) Switch to the C# language if it is not active:
3) Click the Add Embedding button:

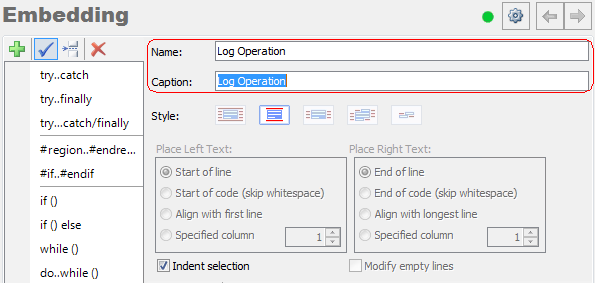
4) Type the Name and Caption of the new embedding:
5) Leave the Style and other options as is, then fill the code embedding expansion area:
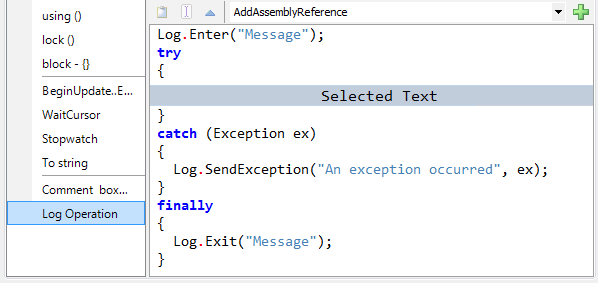
6) Add the required text commands to the expansion:
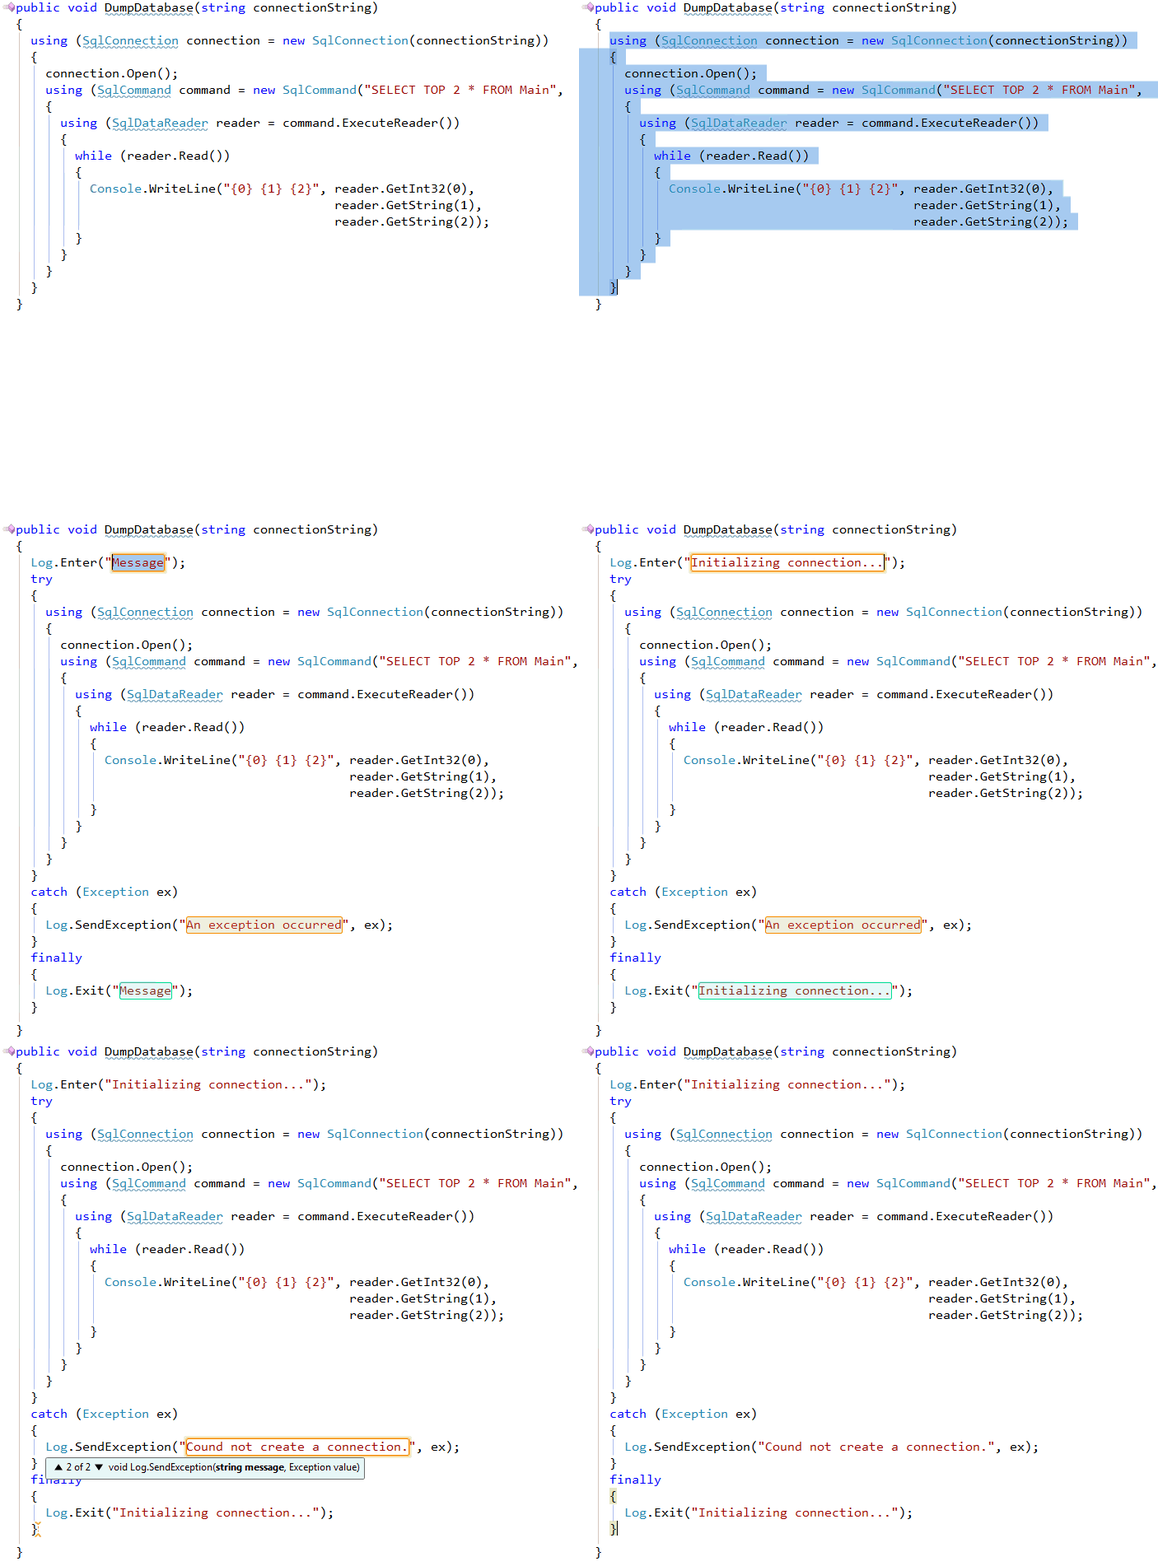
That’s it. Let’s try to apply it (click the animation to enlarge):
—– Products: CodeRush Pro Versions: 11.1 and up VS IDEs: any Updated: Sep/13/2011 ID: C132